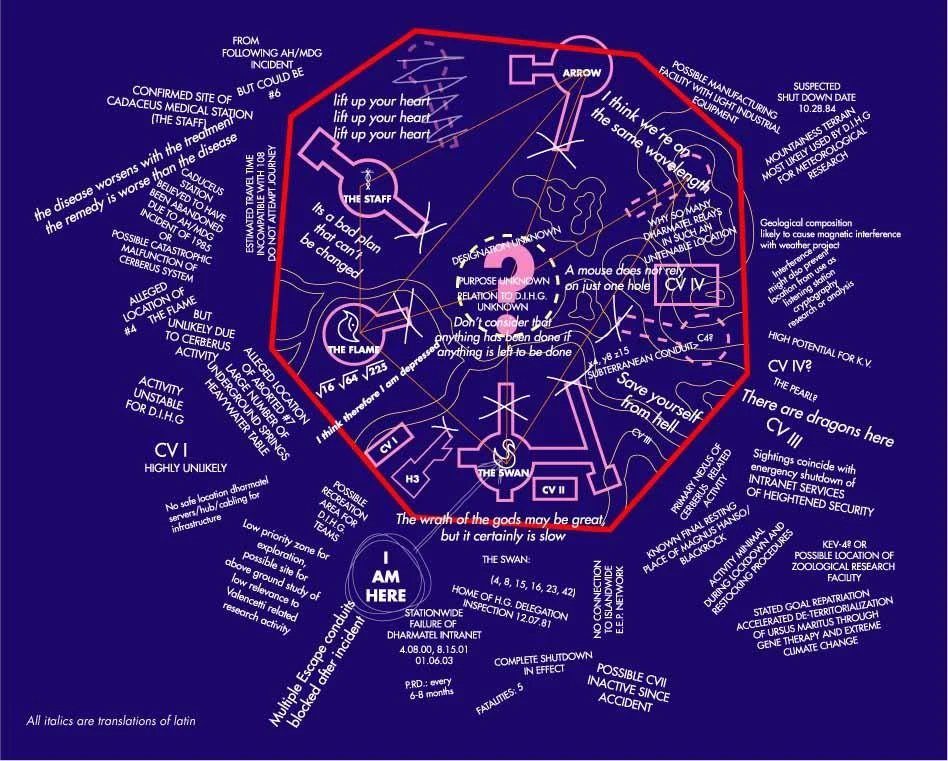
The blast door map with legible text written above
The blast door map discovered in "Lockdown" is a map of DHARMA Initiative facilities on the Island discovered by Locke at the Swan. The map and its accompanying annotations were drawn on one of the blast doors in paint that would fluoresce under ultraviolet ("black") light. The map was only visible briefly during the lockdown incident, and was later destroyed in the Swan implosion.
Creation and history[]
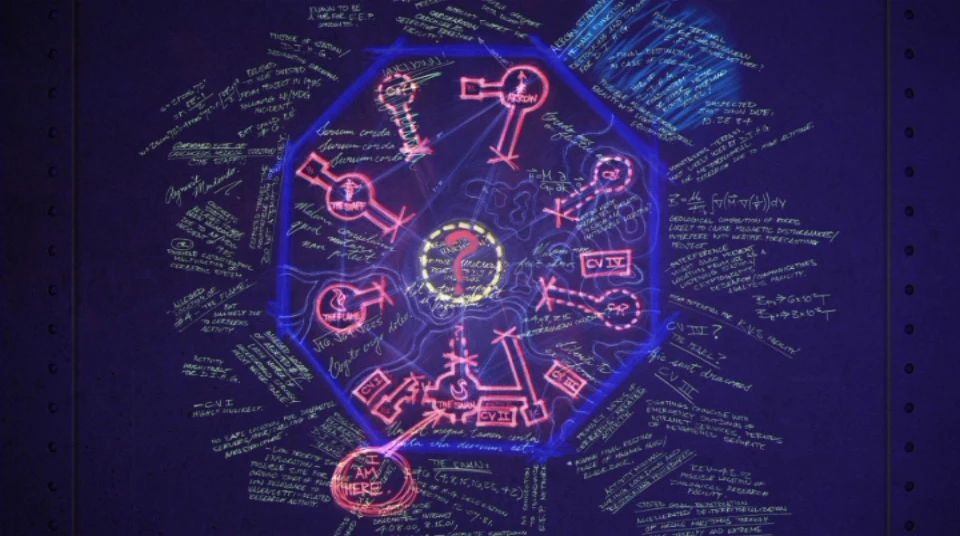
A full picture of the blast door map
Stuart Radzinsky, a DHARMA Initiative member and architect of the Swan station, originally created the map. He and his partner, Kelvin Inman, regularly forced a lockdown to engage the blast doors in order to continue their work on the map. The map's creators were forced to work blindly, as the map could only be seen under conditions when the Swan was illuminated with black-light. Following Radzinsky's suicide, Kelvin continued working on the map, albeit at a much slower pace. Kelvin described Radzinsky as having a photographic memory, allowing him to remember exactly where he left off. It is unknown if Desmond ever contributed to the map. ("Live Together, Die Alone, Part 1")
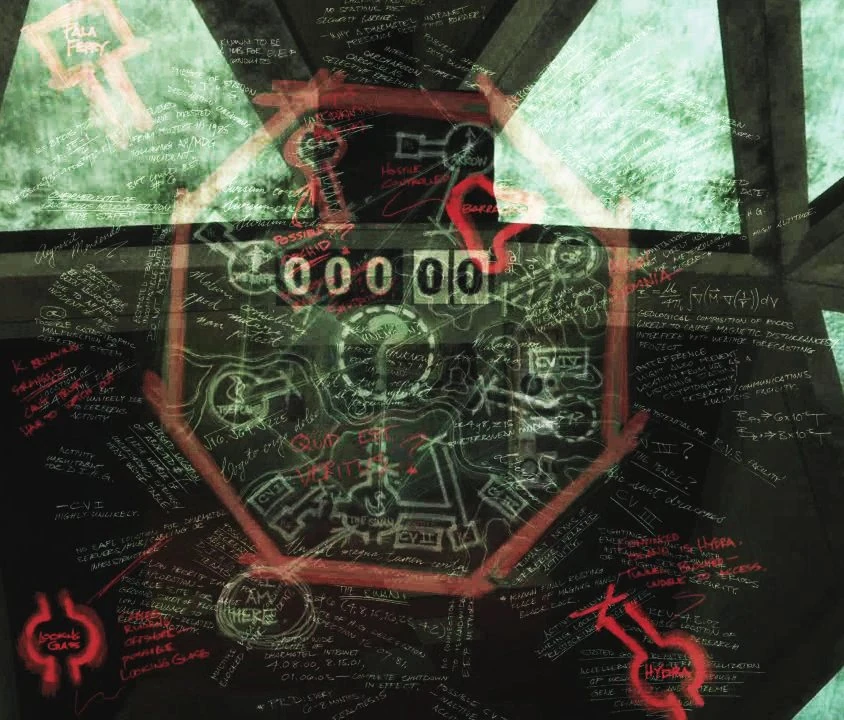
The Via Domus blast door map with new notations
DHARMA laundry detergent was at least one of the substances used as "paint" on the map. Likely other mixtures were used to create the different colours.
Locke saw the blast door map for the first and only time in episode "Lockdown" while trapped under the blast door during the lockdown incident. Black lights switched on, revealing the map.
In the semi-canon video game, Via Domus, there are two spectrum levels of the map, which can be seen under different lighting conditions. The first was as seen by Locke. The second spectrum of the map includes more geographical locations and notations. ("Forty-Two")
Overview[]
There are numerous handwritten notations across the blast door map. There were at least two types of notations: printed notes in English, informed and factual; and more speculative philosophical musings in Latin written in cursive. Likely a combination of information and guesswork on the part of its creators, the map does not appear to be entirely accurate.
Locations and geography[]


The written notations
Stations[]
The hidden map shows the location of six stations with a seventh crossed out. All the stations appear to be pointing towards the center of the Island, represented on the map by a large question mark. Four of the stations appear with names and logos: the Arrow, the Staff, the Flame, and the Swan. The central location, indicated by the question mark at the center of the map was later identified as the Pearl. ("?") The crossed out "C1" station labelled unknown by the original creator of the map, Radzinsky, was the Orchid, however Radzinsky was unaware of the station's function.
The LOST Encyclopedia notes that "C3" on the blast door map is the location of an unseen and/or un-built meteorological station that acording to the map is located at a high elevation.
Other Structures[]
- A number of other structures appear around the periphery of the map marked "CV". These are numbered sequentially counter-clockwise one through four. "CV" was later revealed in the jigsaw puzzles to stand for "Cerberus Vent".
- The map also contains a note at about four o'clock referencing the "Known final resting place of Magnus Hanso/Black Rock."
Notations[]
The notes are written in several scripts, suggesting multiple contributors. The notes can be grouped into four general categories: English commentary, Latin commentary, mathematical equations and labels (the Swan, the Flame, CVIII, etc). The Latin phrases appear to be more of a running commentary. By contrast, the majority of the notations written in English address the various stations, references to an incident, possible shutdowns, a Cerberus system, the Periodic Resupply Drop, and a DharmaTel network.
Station references[]
- Annotations pertaining to a zoological station and experiments being carried out on Ursus Maritimus is a clear reference to the Hydra. ("A Tale of Two Cities")
- A similar note referring a ground study being carried out on Island flora is likely a reference to the Orchid. ("There's No Place Like Home, Part 2")
- Several notations hint that additional as-yet unseen DHARMA facilities may exist. There are two references to a mountain location dedicated to meteorology research and another mentions a listening station devoted to communication analysis and cryptographic research.
- According to the March 10th Podcast, the Tempest is referenced on the blast door map. While not explicitly identified, the station is likely referenced by the notation referring to a "possible manufacturing facility with light industrial equipment."
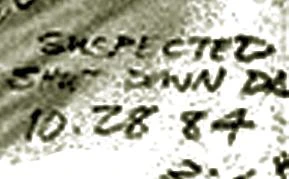
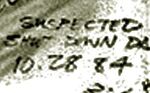
Enhanced close-up of date
Math, equations, science[]
Found on the blast door map are several equations, both mathematical and scientific, written as additional notations to the diagram. Three trigonometric equations are located in the top left-hand corner of the blast door map, two calculus problems appear to be engineering/physics equations related to magnetism, two derived values are found at the far right of the map, and other various mathematical equations are spread throughout it.
Timeline[]
There are several notations on the hidden map that appear to be dates, which use a month/day/year format. Some appear to indicate a the timestamp when a "shutdown" occurred. What was shut down and why are unknown. There is another date reference to a zoological research facility and a reference to something called an AH/MDG incident of 1985.
Via Domus blast door map[]
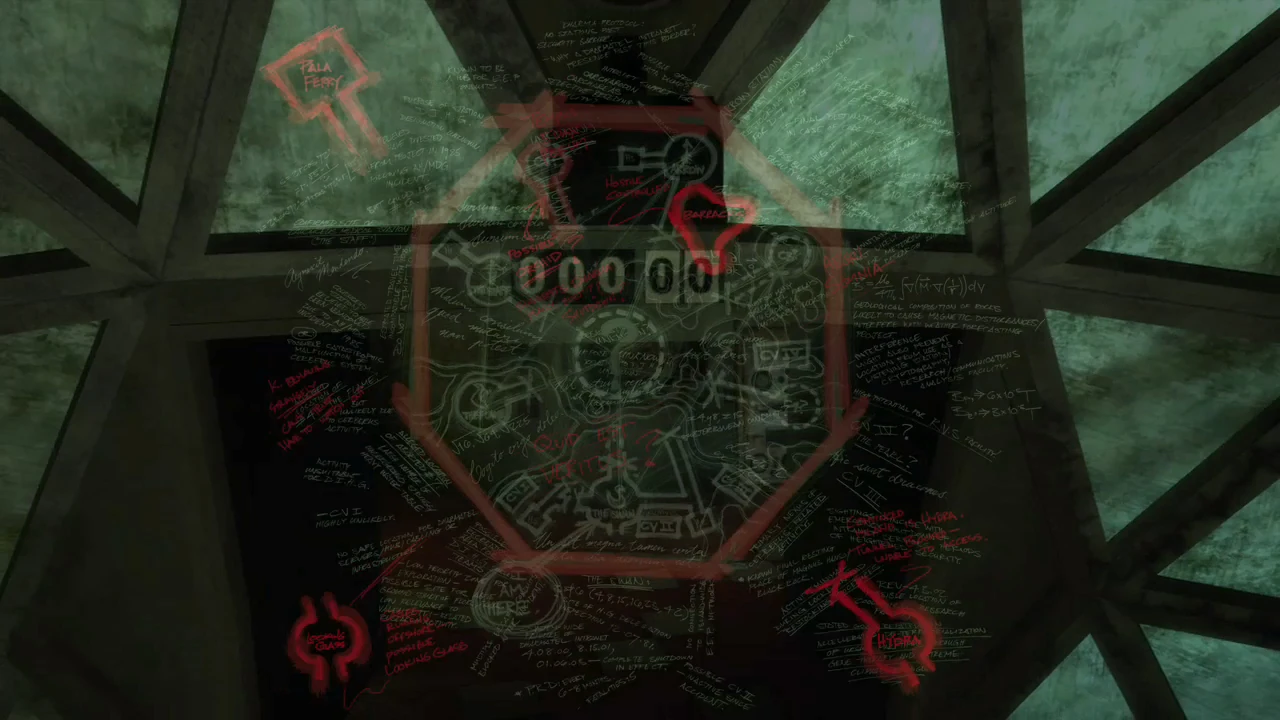
The newer version of the blast door map, as seen in a trailer for Lost: Via Domus.
The Via Domus version of the map seen by Elliott Maslow in "Forty-Two", is a canonical addition to the blast door map, since the producers stated that there is another version of the map seen under a different light. (Access: Granted)

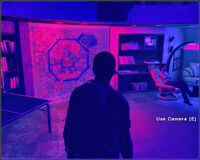
Elliott sees the map in ("Hotel Persephone").
A summary of the additions to this map, listed counter-clockwise:
- Outside, Upper Left: Pala Ferry icon
- Outside, Middle Left: "K. BEHAVING STRANGELY; CAN'T TRUST; HAVE TO WATCH OUT"
- Outside, Lower Left: Looking Glass icon, "CABLES RUNNING OFFSHORE -- POSSIBLE LOOKING GLASS"
- Outside, Lower Right: Hydra icon, "CONVINCED ISLAND IS HYDRA. TUNNEL BLOCKED - UNABLE TO ACCESS"
- Outside, Middle Right: "AEGRI SOMNIA", Latin for "A SICK MAN'S DREAMS" or "TROUBLED DREAMS"
- Inside, Upper Right: Barracks icon, "HOSTILE CONTROLLED"
- Inside, Upper Center: "TEMPUS EDAX RERUM" Latin for "TIME DEVOURS ALL" or "TIME, THE DEVOURER OF ALL THINGS"
- Inside, Upper Left: Crossed-out icon, "POSSIBLE ORCHID? SCIENTISTS DISCOVER FERRY PORT?? SHUTDOWN?"
- Inside, Lower Center: "QUID EST VERITUS?", Latin for "WHAT IS TRUTH?" or "WHAT IS TRUE?"
Other images[]

Images of the glow-in-the-dark backs of all 4 jigsaw puzzles, pieced together
In addition to the screen capture of the map from "Lockdown", the original map has been presented through other official venues. These images were apparently taken from the original prop source, and thus are higher quality images, some of which show more details and sections of the map than those from the episode itself. These include:
- High-res image in Entertainment Weekly the day after the original airing of "Lockdown"
- Image from the Season 2 DVD special, "Secrets from the Hatch"
- Glow-in-the-dark images on the backs of the Official Jigsaw Puzzles
- High-res 11x17 pull out poster in "Love Island" of Lost: The Official Magazine.
- Hidden blacklight image in the packaging of the Complete Collection DVD set
Locke's map[]

Locke's map
Locke was the only one of the survivors to see the blast door map and later tried to recreate the map on paper by drawing what he recalled. Only seeing the map for a few seconds, his memory is somewhat sketchy, but he appeared to recall the general station locations, the 'rivers' and the question mark in the center of the map. After various attempts, Locke eventually drew a good copy which he and Eko used to locate The Pearl. In exploring the Pearl, Locke tested the pneumatic tube by placing the map inside. The map was later found by Sawyer at the capsule dump. ("S.O.S.") ("?") ("Live Together, Die Alone, Part 2")
Unanswered questions[]
| Unanswered questions |
|---|
|
- For fan theories about these unanswered questions, see: Blast door map/Theories
Historical
- Why would Radzinsky, a central figure in the DHARMA Initiative, need a map?
- Why would he call the Flame an "alleged station", when he himself had worked there in the past?
- Why was the map hidden?
- Why was it deliberately created to be visible only under black light conditions?
Notations
- Why are several stations drawn in dotted lines?
- What do the straight lines connecting the various stations signify?
- Might the lines symbolize an old DHARMA tunnel system?
- What is a Cerberus Vent?
- What is the significance of the Latin phrases?
- What are the conduits referenced by the map?
- Why is the writing above the Arrow Station crossed out?
- What is code 42?
- Why is the "C3" location "untenable"?
- Why is there a room next to the Swan Staion that isn't attatched to anything else as there are "X"s in all the entry points?
- Is the "X"ed out room next to the Swan Station an abandoned labratory for electro-magnetism?
- Do the Latin phrases have some sort of relationship to how the Hostiles/Others speak Latin?
External links[]
Map commentary[]
Raw images[]
Fan-annotated and translated images[]
- Interactive Blastdoor Map with Removable "Layers" and Translation Toggle
- Colorized Translated Map (Created by EW, completed by fans)
- Hybrid Fan-Annotation (with translation legend)
- Hybrid Maps of Fans
- Black and White Hybrid Fan-Annotation